
Good Saturday Morning to you all!
Our first tutorial is for this simple valance, that we believe anyone who knows how to measure and use a sewing machine can make. These are especially good if you need something fast to decorate your window, like when you first move in somewhere.
A Simple Valance
Note: Make sure you read through all the instructions before starting. Some knowledge of sewing is required to make this valance, but it is very simple, so a beginner could do it.
This valance was made with a recycled linen curtain that was found in a favorite junk shop. The fabric is nice and “floppy”, so it lays nice next to the window. It was also already hemmed on all sides, so the photos will differ from what you will make. (The hem for the top of our linen curtain was only about 1", but we hem the new valance using 1 1/2" seam allowance.) You can use any fabric for this valance, but we like to look for something that is not stiff. If you can wash your fabric several times before you use it, it might help to take away some of the stiffness, especially if you are using drapery fabric.
We do recommend you use drapery fabric, as it is usually treated somewhat to prevent fading from the sun.
These instructions are for a window with an inside measurement of 34" (measuring the width of the glass, not including the frame around the window), and a curtain rod that measures 41", which does include the framework around the window. You can adjust these measurements to your own windows, by adding 3" to width and 5 1/2" to the length (3" for hems+
2 1/2" for rod pocket) to YOUR DESIRED FINISHED MEASUREMENT.
General Instructions: We started with a piece of fabric that was 65" wide and 25" long. (The width of the fabric will be placed horizontally on your window, of course.) The hems are 1 ½" all the way around. The rod pocket, which is where you place your curtain rod, is 2 ½", and there is approximately 10" on both sides of the rod pocket that are not sewn. This sounds confusing, but you will see a photo below showing what this means.
1. Choose fabric. Wash if necessary. For one valance, cut a rectangular piece that measures 65" wide, by 25" long. Starting with the top and bottom hems, fold over and press 1/4" first, then fold over and press 1 1/4", Wrong Sides Together (WST). Sew hem down, close to the first folded edge.

2. Now sew the side hems in the same manner.

3. Now you have a rectangular piece that measures approximately 62" wide by 22" long.
4. Make the Rod Pocket. Measure 10" in towards the middle of the top from each end. This is your starting and ending points for sewing the pocket. Fold over the top 2 ½" and press, leaving the 10" on each end unpressed. Sew along the edge of the hem, to make the pocket.


5. Insert curtain rod and hang.

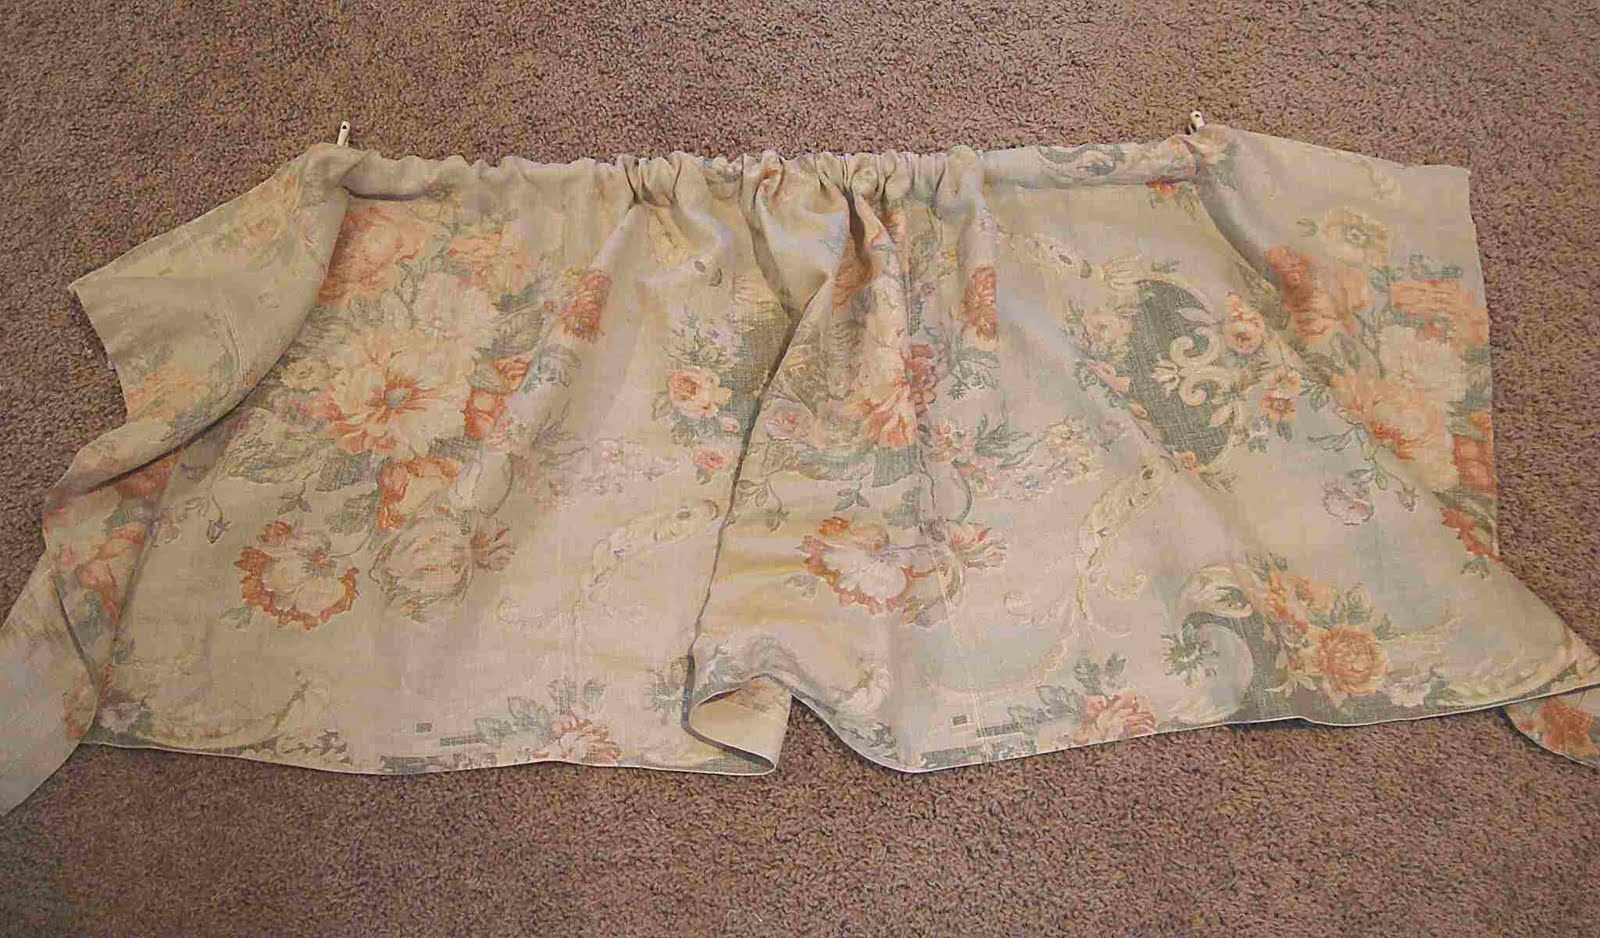 Photo above shows right side of valance before hanging
 Photo above shows wrong side of valance before hanging
6. We like to tie up the middle with a bow, or as we did with the linen curtain, with a wreath that is tied with a ribbon.


No comments:
Post a Comment